Guía completa de expedición de Fisch Northern
La actualización de la expedición del norte de Fisch se redujo el 21 de diciembre de 2024, presentando un área separada para que los aventureros exploren que no es parte del océano regular que conocemos. This icy expanse brings new challenges, valuable items, and difficult terrain for those daring enough to brave it.
Fisch Northern Expedition Update Information
| Característica | Detalles |
|---|---|
| Bestiaries | Overgrowth Cave, Frigid Cavern, Cryogenic Canal, Glacial Grotto. |
| Pez | 36 new species. |
| Cañas | Arctic Rod, Avalanche Rod, Crystalized Rod, Ice Warpers Rod, Summit Rod, Heaven's Rod. |
| Fish Mutations | 4 new mutations. |
| Totems | Avalanche Totem and Blizzard Totem. |
Fisch Northern Summit Location (How to Find the Northern Expedition)
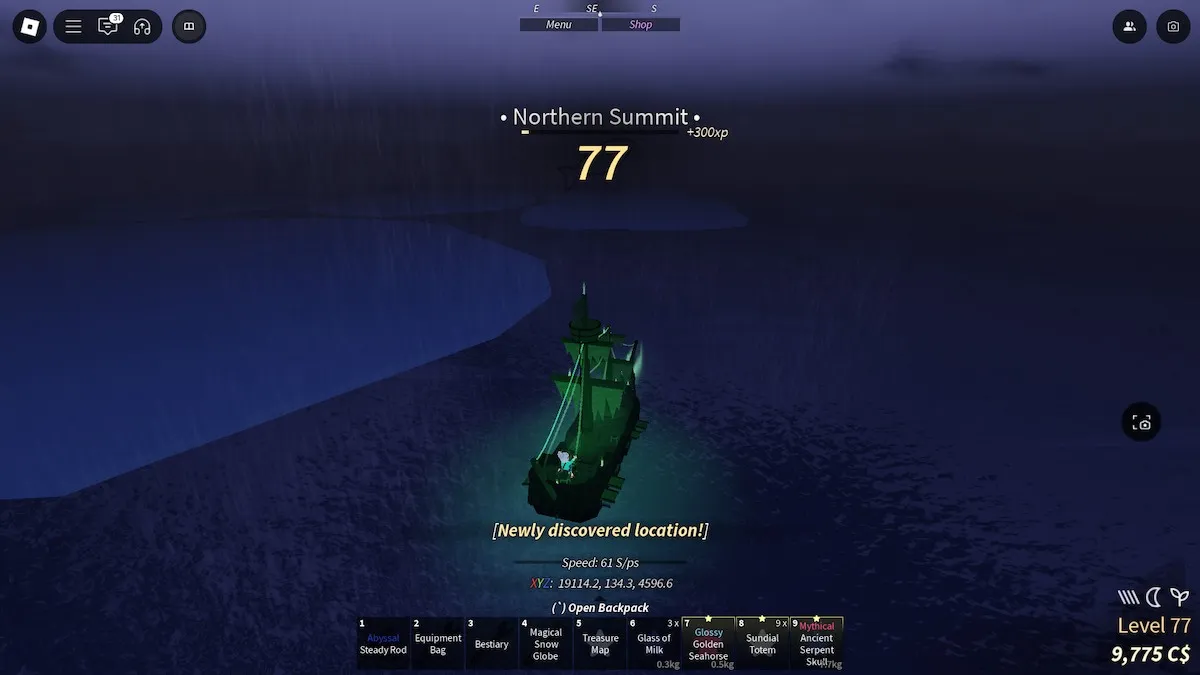
To get to the new island, you need to find the marker in your game that says " Northern Expedition " and sail towards it. You can find in between Terrapin Island and the Forsaken Shores , at coordinates (-1730, 138, 3824) . Sail south-southwest from Moosewood and you'll find the portal . After entering the portal, you'll be transported to a new ocean with just two markers - Northern Expedition and Exit of the Expedition. Sail towards the Northern Expedition marker and you'll quickly find the " Northern Summit ", which is the island for this update.
Exploring the Northern Summit in Fisch
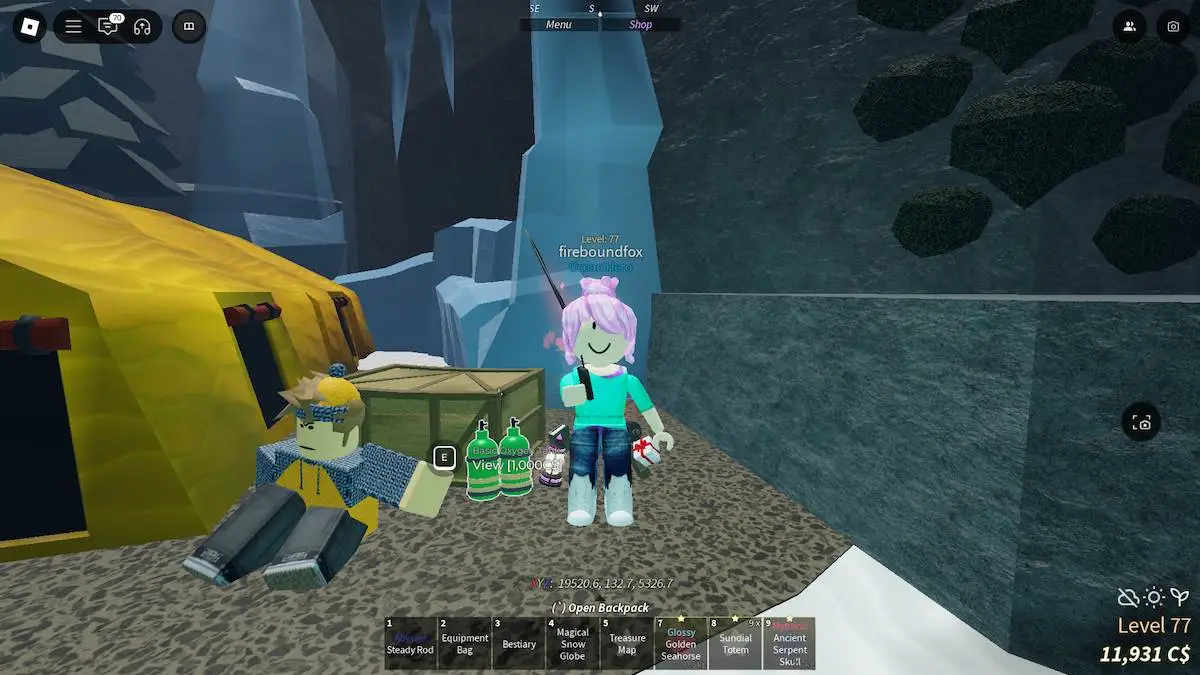
After reaching the island, you'll notice there's no pier to dock your boat. You'll likely abandon your boat in the ice before making your way inland. Your first priority should be purchasing a Basic Oxygen Tank for 1,000C$ , which is next to the NPC to the right of the Merchant. This will allow you to survive the higher elevations of the mountain, where oxygen levels begin to drop.
Here is a guide that will take you up the Northern Summit and into the other areas of the mountain:
Step 1: Crossing the Northern Summit
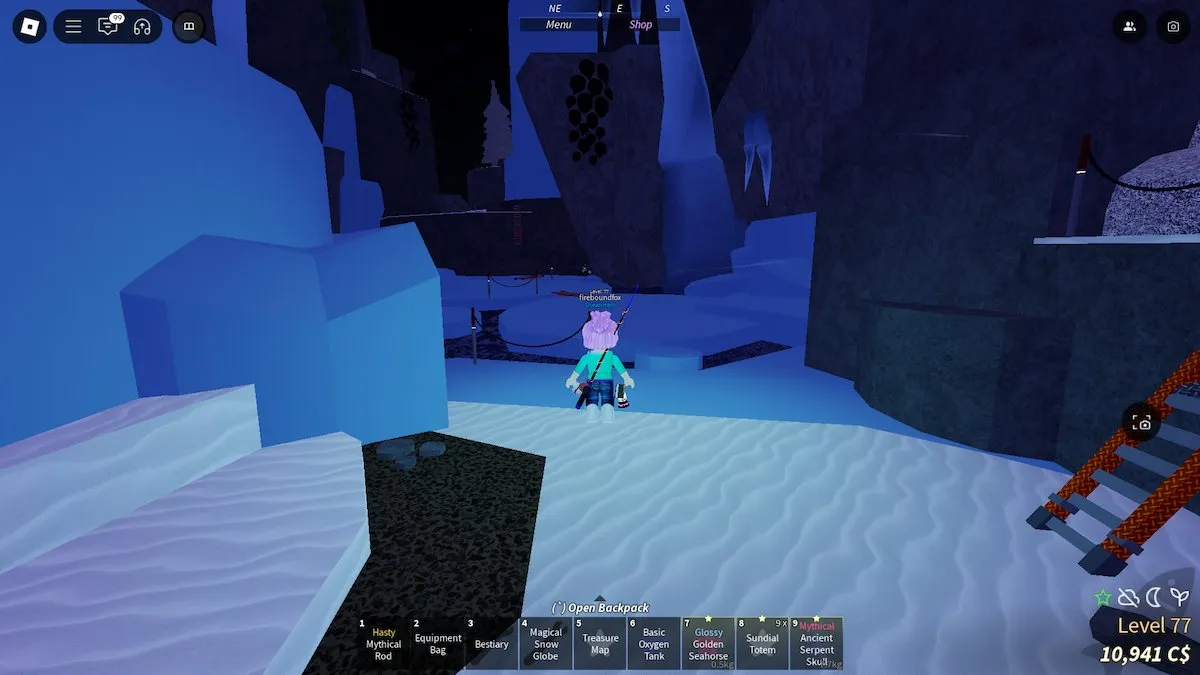
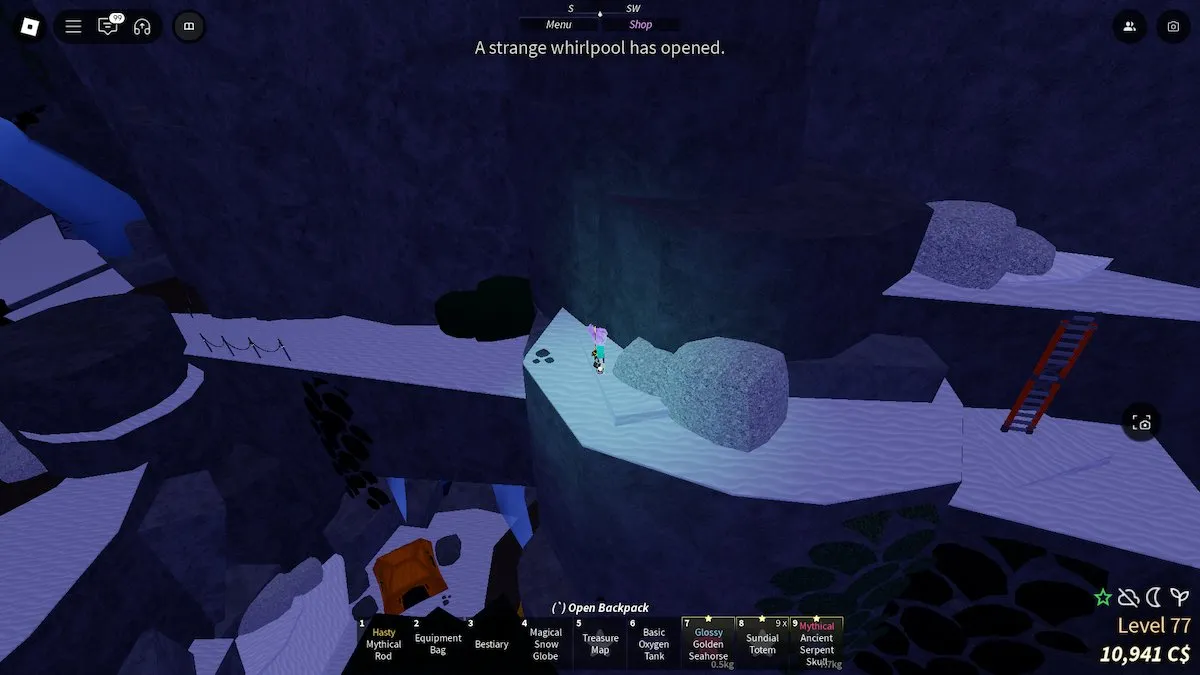
Take the path to the left that leads across ladders and ice. Follow the path up the mountain, keeping an eye out for ladders, which act as markers for the trail.
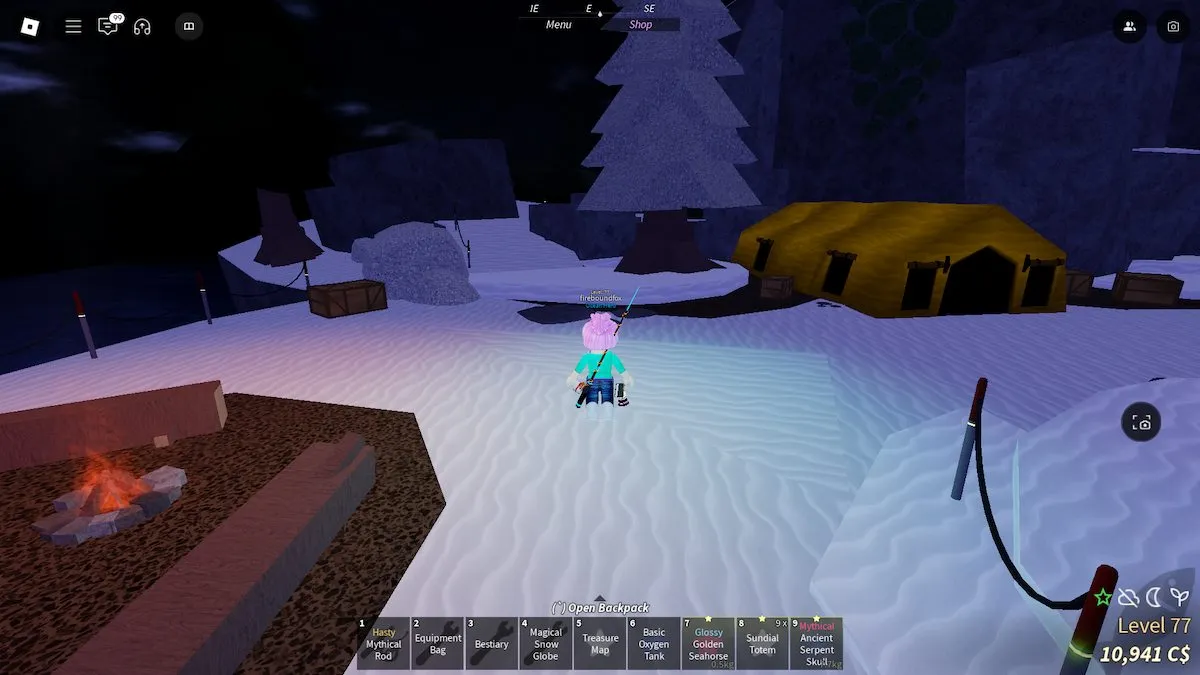
Cuando vea el segundo campamento (el primero es el que compró su tanque básico de oxígeno), tome la leve izquierda para encontrar más escaleras para escalar, y luego gire a la derecha hacia una rampa que corta la parte delantera de la montaña.
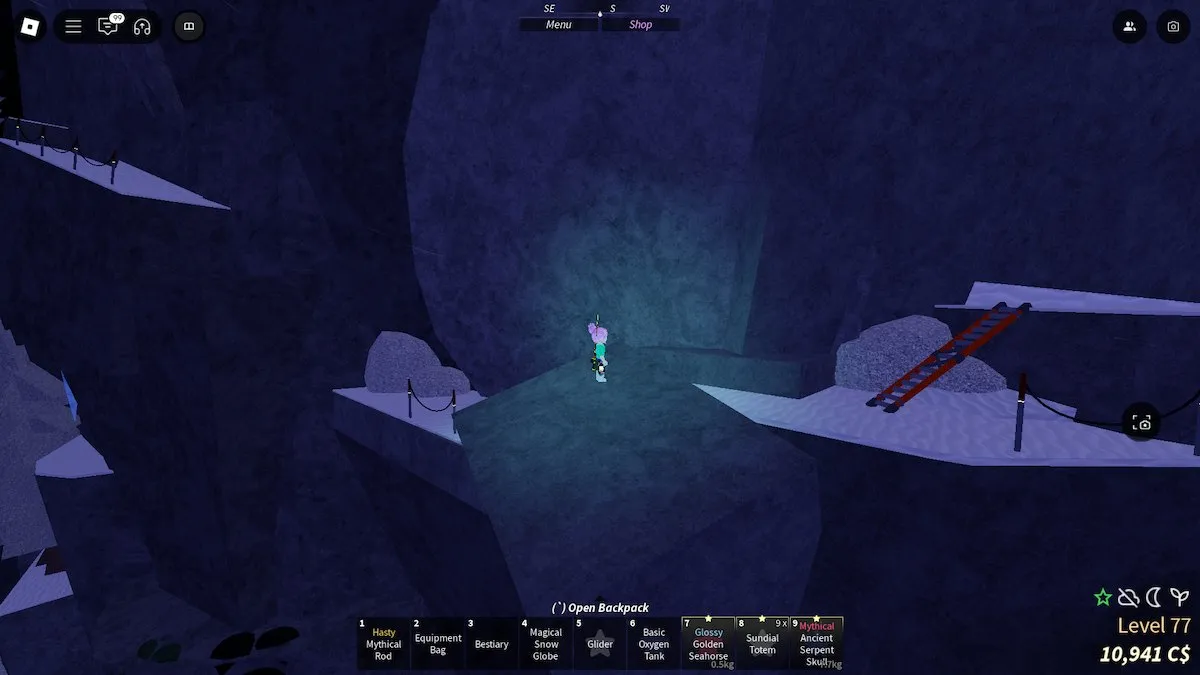
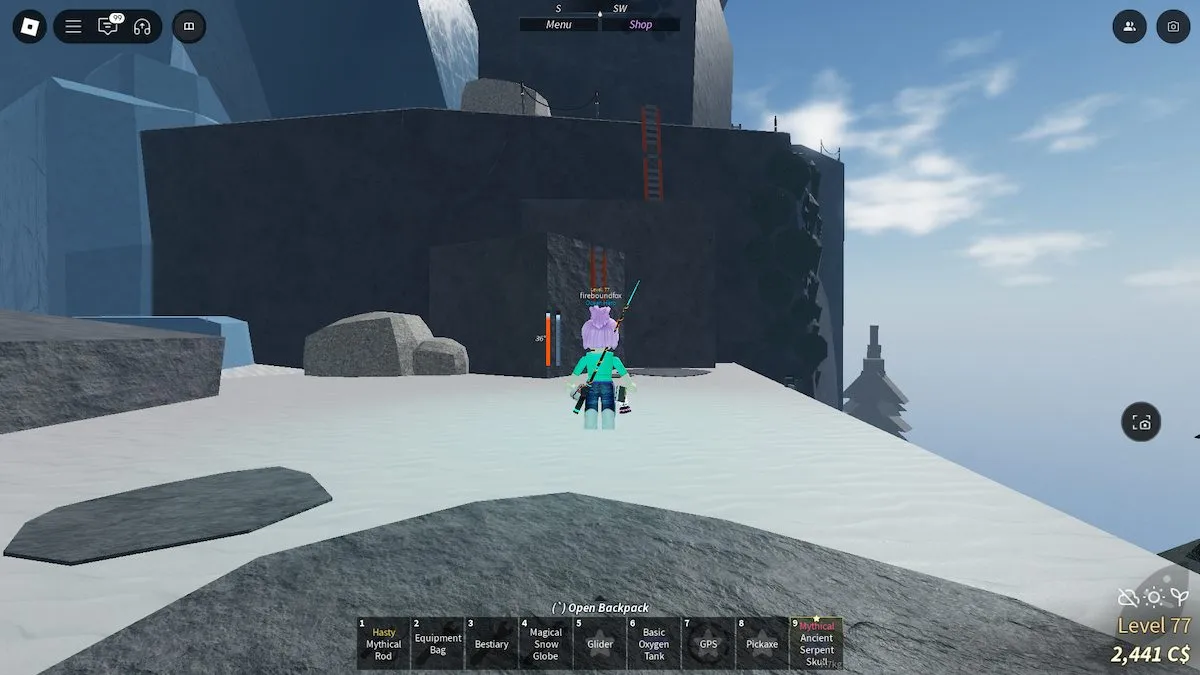
Walk up the ramp to find more ladders to climb, and then continue across the platform . There's a weird drop in the path here that's easy to fall from if you jump. Usa tu planeador para atravesarlo para que no te caigas, no parece que deberías, pero logré volver a caer por la montaña y es tedioso volver a subir.
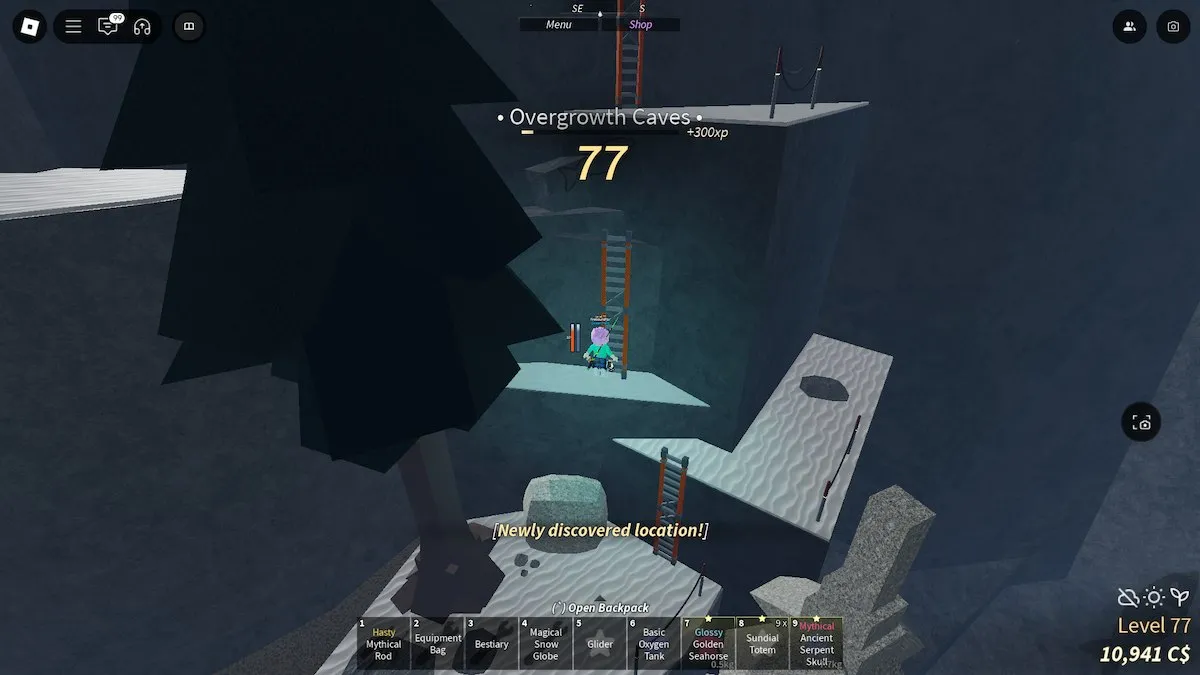
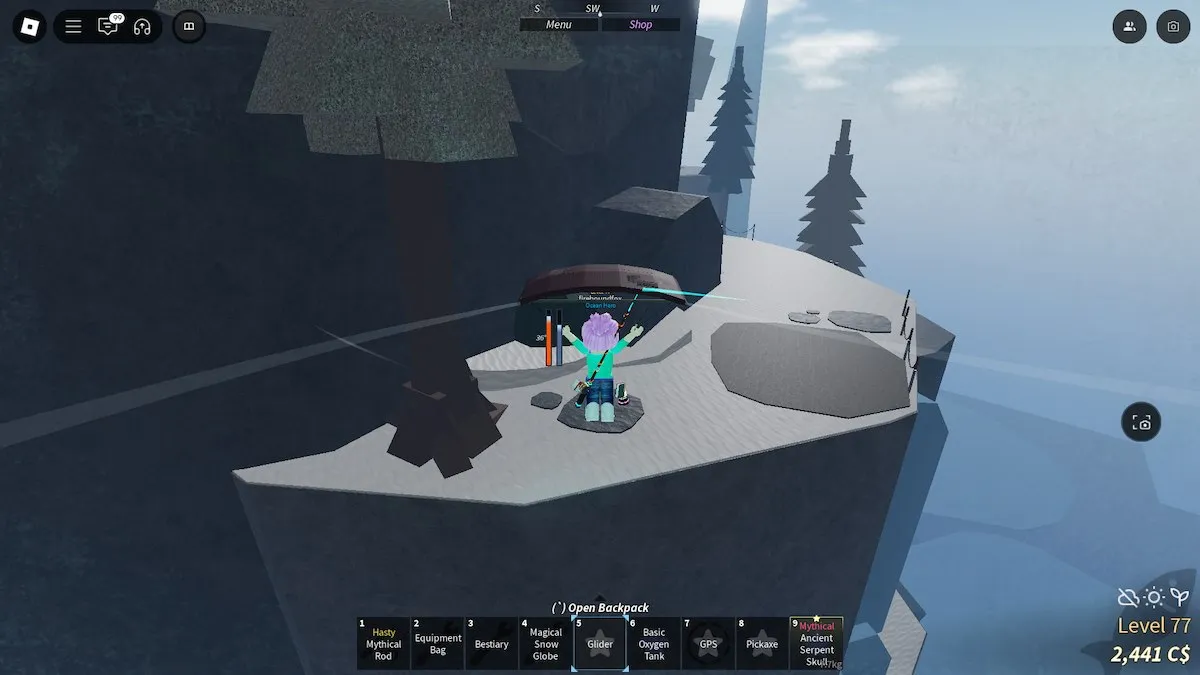
Around the corner of the mountain path, there's an actual gap that you'll need your Glider to cross. I advise turning your camera to look at the jump straight on so you can time it correctly. After the gap, there are a couple more ladders , and then you'll be alerted that you've entered the Overgrowth Caves .
Step 2: The Overgrowth Caves
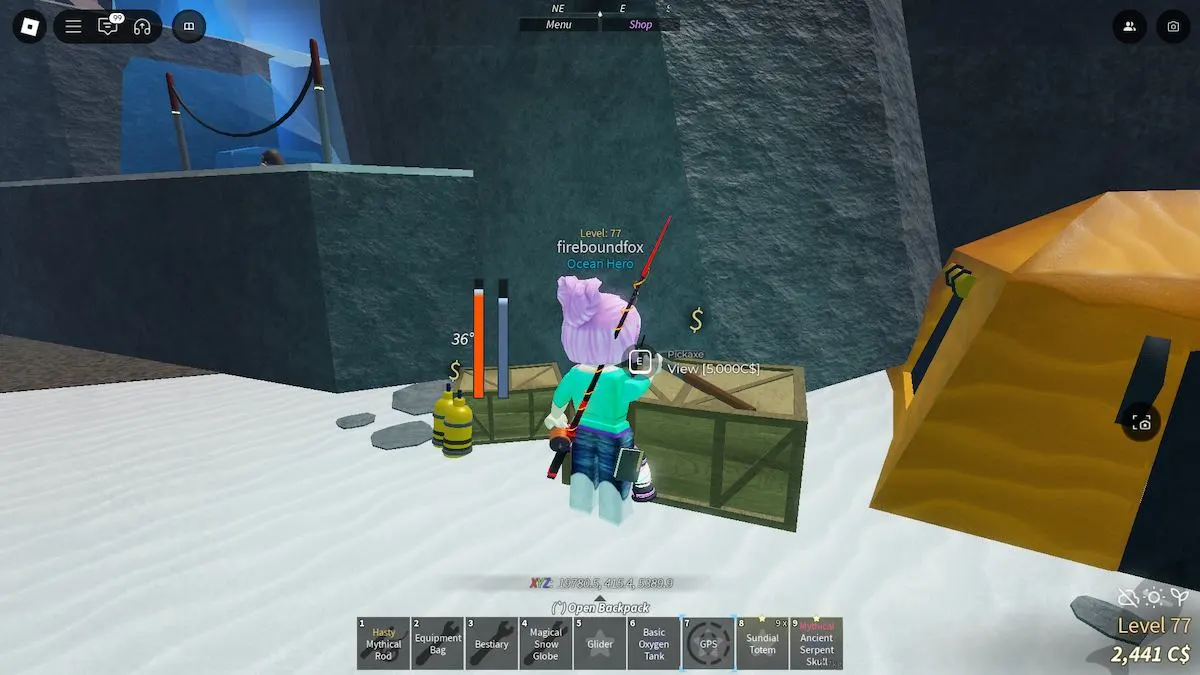
Aquí hay un campamento en el lado izquierdo de la montaña que tiene un pickaxe por 5,000c $, una actualización de tanque de oxígeno por 3.000c $ y un refil de oxígeno libre . You also can't waste time in any area from here on out. You now have an Oxygen meter and a temperature meter . If either gets to zero, you'll die and respawn .
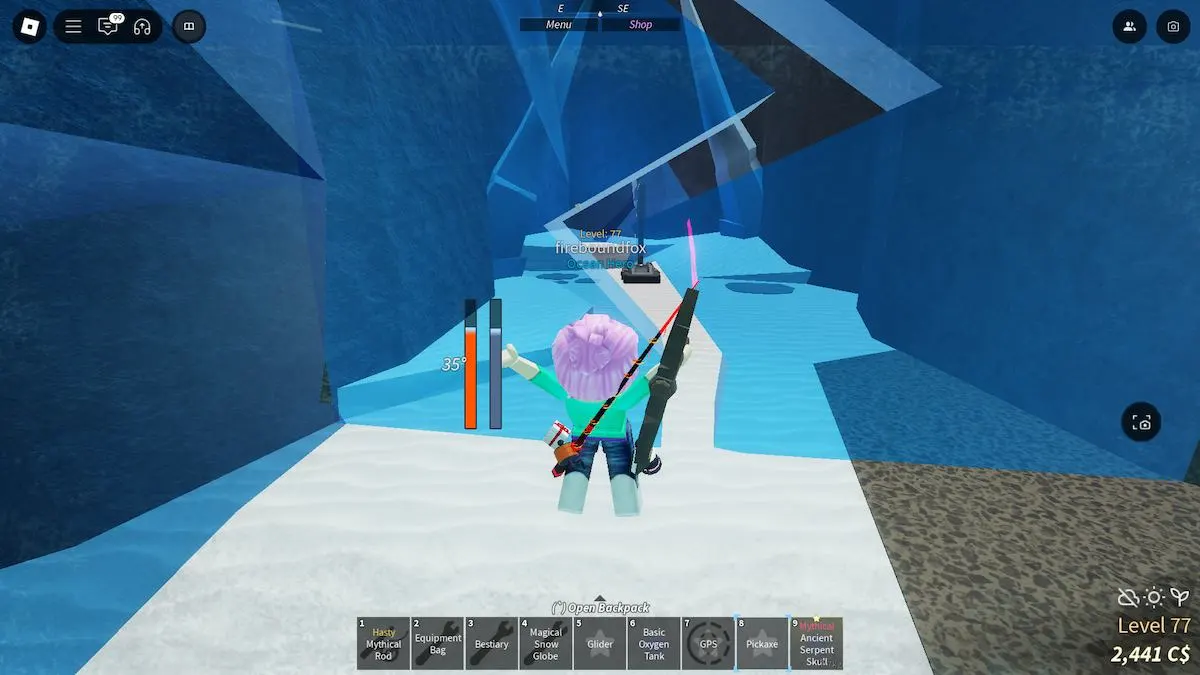
Head to the left of this camp and break the entrance to the cave with your new Pickaxe . The light from your lantern somehow melts the ice on a lever, which you can then interact with. This is one of six levers in the Northern Summit that you'll need to activate.
Head back to the clearing, refill your oxygen tank , and stand by the fire . Esta es una forma mucho más rápida de rellenar sus medidores que dejar constantemente el área (lo que puede hacer retrocediendo debajo de las escaleras que conducen a las cuevas de crecimiento excesivo).
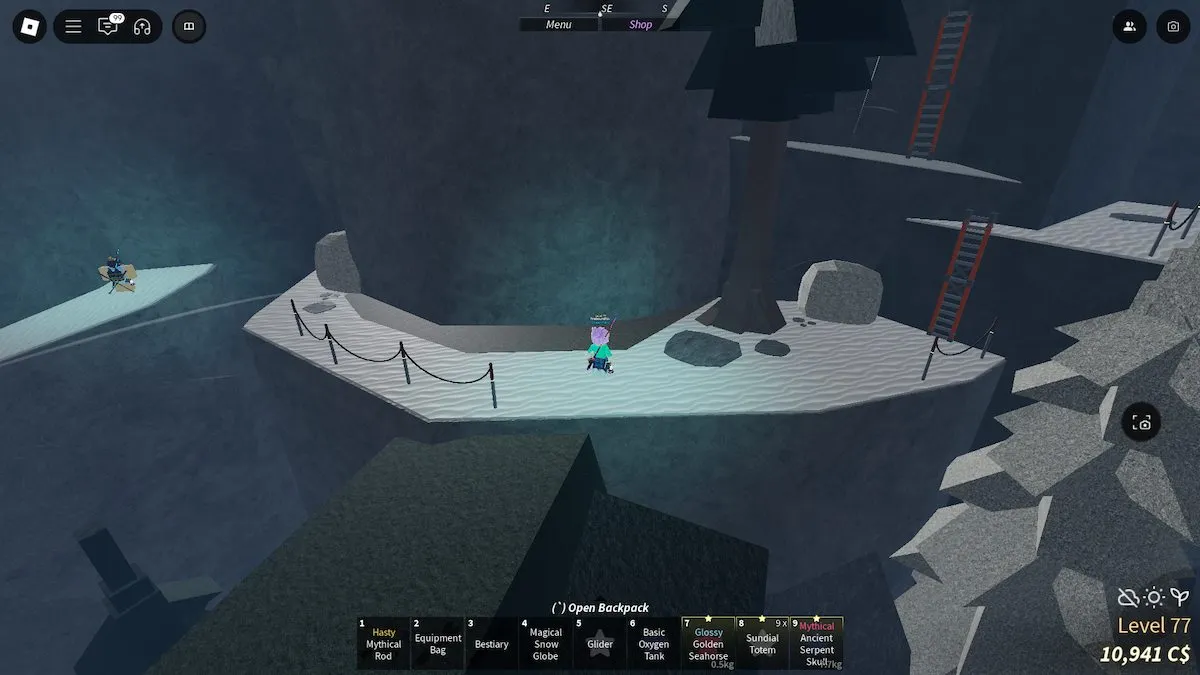
Go back to the entrance to the area, and take the path on the right using the ladder . Climb the rocks toward the cliff and use your Glider to cross the huge gap . Follow the path and the roped fences until you reach the next camp.
Here, you'll find an Intermediate Oxygen Tank , as well as the Summit Rod . Grab the tank and continue climbing. Take the ladders to the right to find an NPC selling the Winter Cloak for 7,500C$ . This shops your temperature meter from dropping.
Head back to the path and take the ramp to continue up the mountain .
Step 3: The Cryogenic Canal
The path will lead you to the Cryogenic Canal , which is the third area in the Northern Summit.
Come back later, we're still working on this .
Fisch All Northern Summit Fish
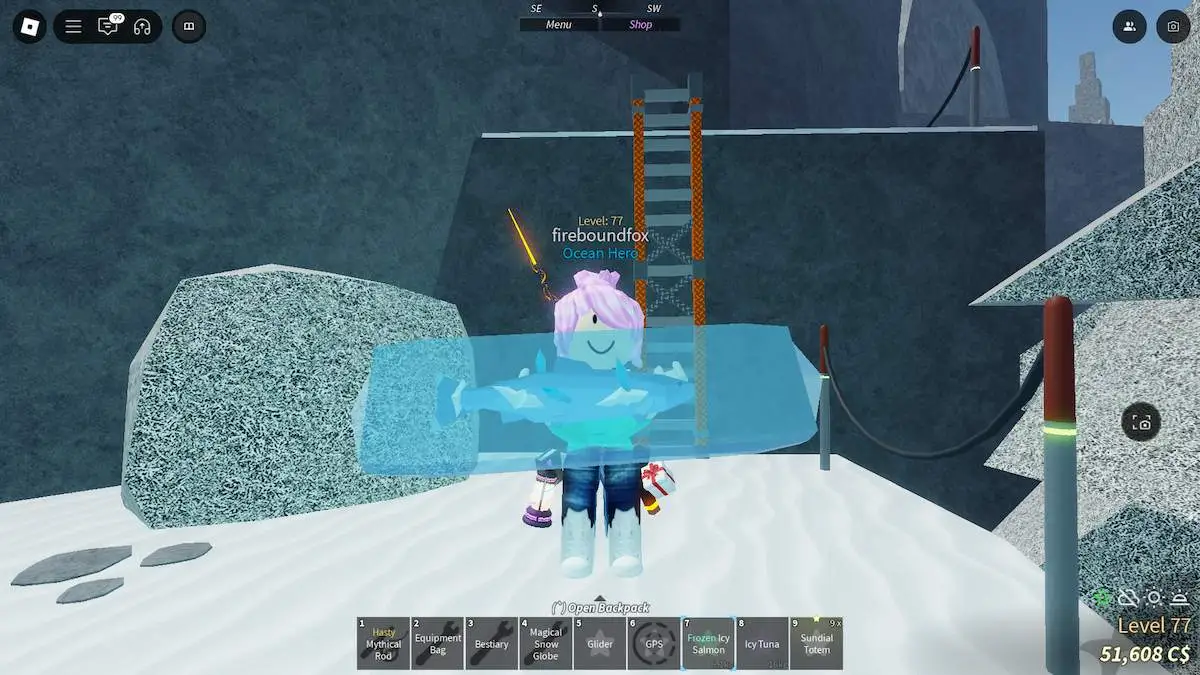
Alongside the 36 fish added to Fisch with the Northern Expedition update, there are four new mutations.
| Mutación | Value Multiplier |
|---|---|
| Blighted | x3 |
| Crystalized | x1.75 |
| Celestial | x5 |
| Aguanieve | x2.4 |
All Fish in the Overgrowth Cave Bestiary
| Pez | Rareza | Clima | Hora del día | Estación | Carnada |
|---|---|---|---|---|---|
| Icy Salmon | Poco común | Cualquier | Día | Invierno | Gusano |
| Ice Anchovy | Poco común | Claro | Día | Invierno | Gusano |
| Icy Carp | Inusual | Cualquier | Cualquier | Invierno | Rosquilla |
| Frigid Crab | Inusual | Cualquier | Cualquier | Invierno | Fish Head |
| Icy Goldfish | Extraño | Claro | Día | Invierno | Escamas |
| Icy Tuna | Extraño | Cualquier | Cualquier | Invierno | Fish Head |
| Frigid Antlers | Legendario | Cualquier | Cualquier | Invierno | Ninguno |
| Frozen Walnut | Mítico | Cualquier | Cualquier | Invierno | Ninguno |
| Glass Diamond | Mítico | Cualquier | Cualquier | Cualquier | Ninguno |
All Fish in the Frigid Cavern Bestiary
| Pez | Rareza | Clima | Hora del día | Estación | Carnada |
|---|---|---|---|---|---|
| Frigid Shrimp | Poco común | Cualquier | Noche | Invierno | Escamas |
| Ice Eel | Poco común | Cualquier | Noche | Invierno | Gusano |
| Ice Jellyfish | Inusual | Cualquier | Cualquier | Invierno | Ninguno |
| Ice Octopus | Inusual | Cualquier | Día | Invierno | Fish Head |
| Snowfish | Extraño | Cualquier | Cualquier | Invierno | Fish Head |
| Frozen Taco | Extraño | Cualquier | Cualquier | Invierno | Ninguno |
| Polar Alligator | Legendario | Cualquier | Noche | Invierno | Fish Head |
| Frozen Mammoth Tusk | Mítico | Cualquier | Cualquier | Invierno | Ninguno |
All Fish in the Cryogenic Canal Bestiary
| Pez | Rareza | Clima | Hora del día | Estación | Carnada |
|---|---|---|---|---|---|
| Snowflake Smelt | Poco común | Nieve | Día | Invierno | Escamas |
| Frost Minnow | Poco común | Cualquier | Día | Invierno | Gusano |
| Snowback Char | Inusual | Cualquier | Día | Invierno | Insecto |
| Iced Perch | Inusual | Cualquier | Cualquier | Invierno | Pececillo |
| Icebreaker Haddock | Extraño | Cualquier | Día | Invierno | Fish Head |
| Frozen Pike | Extraño | Cualquier | Cualquier | Invierno | Fish Head |
| Chillfin Herring | Extraño | Cualquier | Día | Invierno | Alga |
| Frostjaw Cod | Legendario | Cualquier | Noche | Invierno | Fish Head |
| Aurora Trout | Mítico | Claro | Noche | Invierno | Gusano de trufa |
| Glacial Sturgeon | Mítico | Cualquier | Noche | Invierno | Gusano de trufa |
All Fish in the Glacial Grotto Bestiary
| Pez | Rareza | Clima | Hora del día | Estación | Carnada |
|---|---|---|---|---|---|
| Frostling Goby | Poco común | Cualquier | Día | Invierno | Insecto |
| Snowgill Dace | Poco común | Cualquier | Día | Invierno | Gusano |
| Icy Walleye | Inusual | Cualquier | Noche | Invierno | Pececillo |
| Chillback Whitefish | Inusual | Cualquier | Cualquier | Invierno | Gusano |
| Glacier Swordfish | Extraño | Cualquier | Cualquier | Invierno | Fish Head |
| Frostbite Flounder | Extraño | Cualquier | Cualquier | Invierno | Calamar |
| Icefang Barracuda | Extraño | Cualquier | Cualquier | Invierno | Fish Head |
| Shiverfin Haddock | Extraño | Cualquier | Día | Invierno | Fish Head |
| Borealis Snapper | Legendario | Claro | Noche | Invierno | Fish Head |
| Icebeard Shark | Mítico | Cualquier | Noche | Invierno | Gusano de trufa |
Fisch All Northern Summit Rods
Arctic Rod - Location, Cost & Stats
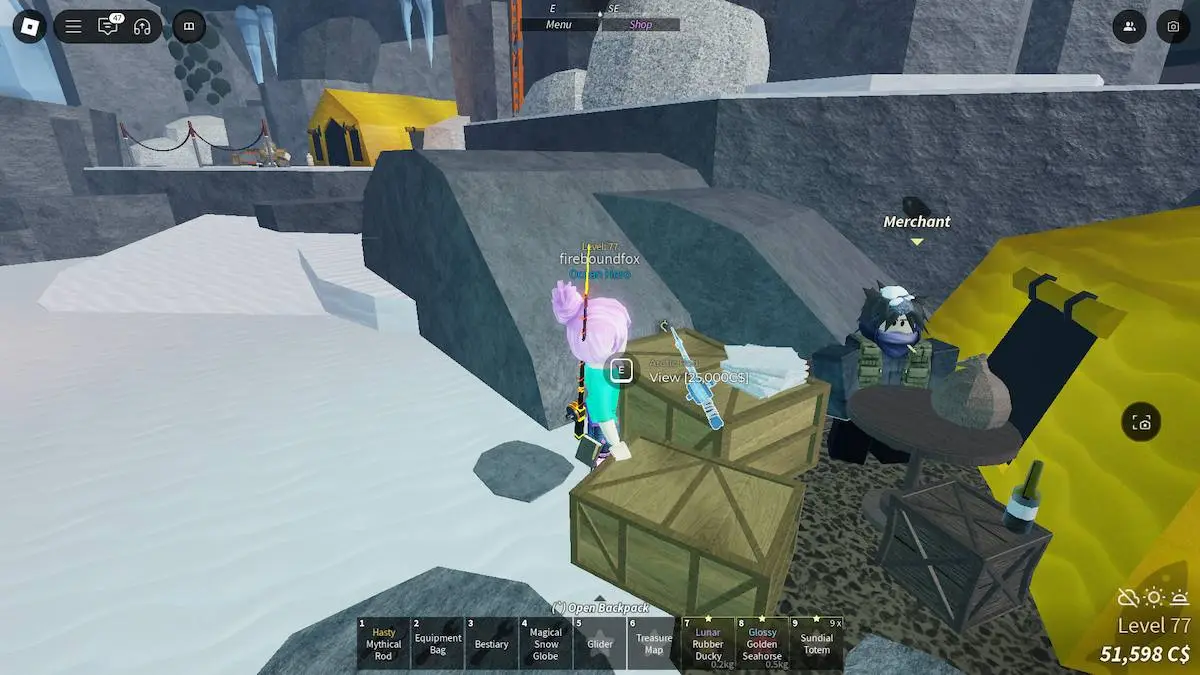
The first rod in the Northern Summit. The Arctic Rod is available from the table next to the Merchant NPC when you first step onto the island. It was glitched when the update first dropped, but you should be able to purchase it now.
| Estadística | Valor |
|---|---|
| Costo | 25,000C$ |
| Velocidad del señuelo | 45% |
| Suerte | 65% |
| Control | 0.18 |
| Resiliencia | 15% |
| Max Weight in Kg | 80,000 kg |
Avalanche Rod - Location, Cost & Stats
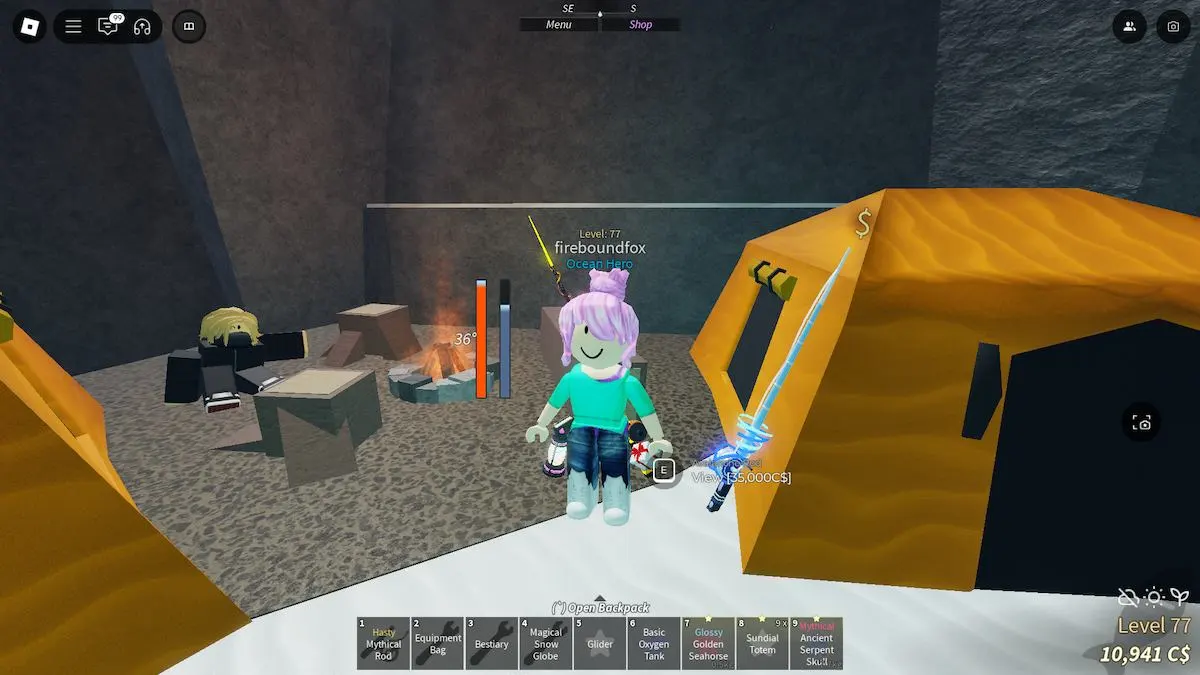
The Avalanche Rod is the second rod you can find in the Northern Summit. It can be purchased at the camp near the Overgrowth Cave entrance at coordinates (19771, 415, 5415) . It's leaning up against a tent on the right of the Pickaxe.
| Estadística | Valor |
|---|---|
| Costo | 35,000C$ |
| Velocidad del señuelo | 40% |
| Suerte | 68% |
| Control | 0.15 |
| Resiliencia | 10% |
| Max Weight in Kg | 65,000kg |
Crystalized Rod - Location, Cost & Stats
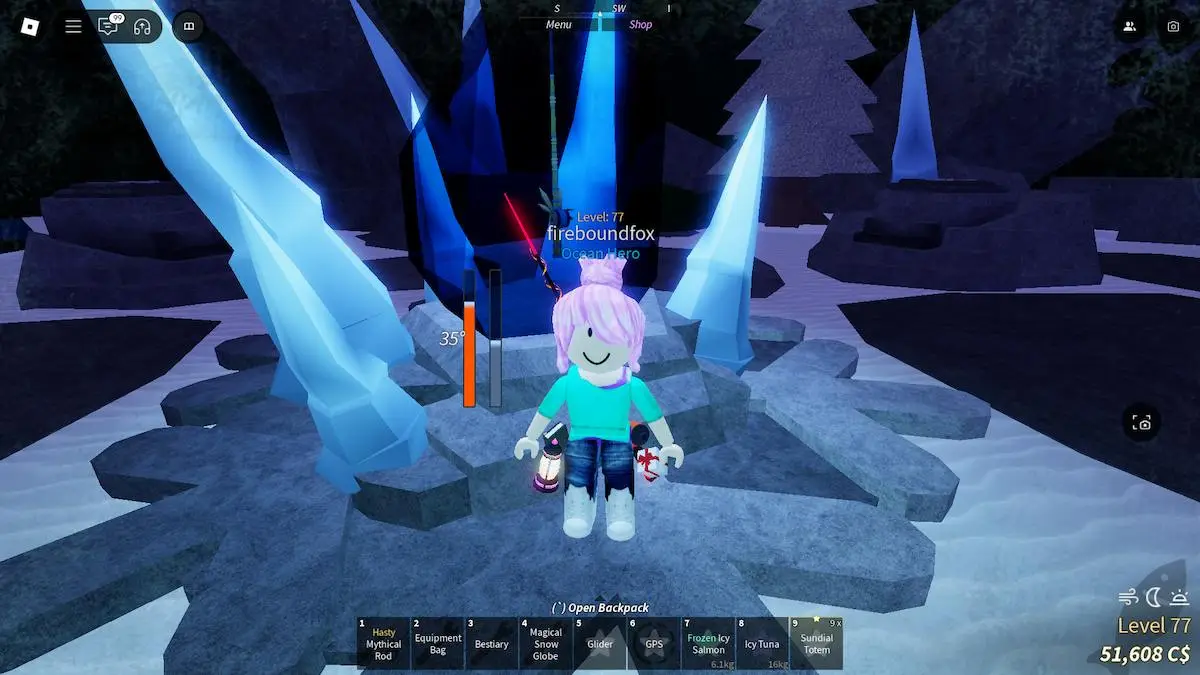
The Crystalized Rod requires teamwork to unlock. You'll need a friend/another player and a Glass Diamond each . Los diamantes de vidrio se pueden pescar desde el estanque en la primera área de la Cumbre del Norte, en las coordenadas (20296, 272, 5463) , antes de comenzar la subida. I used a Mythical Rod and caught three in a few minutes.
Siga el camino por la cumbre del norte desde la parte inferior, vaya a la derecha una vez que golpee las cuevas de crecimiento excesivo y use su planeador para cruzar la brecha gigante en el camino. Once you're over the gap, follow the path straight (you should see blue crystals sticking up in the distance). Keep walking until you reach that area, and drop down into it. You'll see a large, blue, icy crystal in the center of the area. This is the crystal encasing the Crystalized Rod.
Cuando encuentras el gran cristal que encierra la varilla cristalizada, tú y otro jugador necesitan pisar las placas de presión a cada lado del cristal mientras sostienen un diamante de vidrio . The light reflecting through both crystals melts the ice, revealing the Rod.
| Estadística | Valor |
|---|---|
| Costo | 35,000C$ |
| Velocidad del señuelo | 35% |
| Suerte | 45% |
| Control | 0.15 |
| Resiliencia | 15% |
| Max Weight in Kg | 25,000kg |
Ice Warpers Rod - Location, Cost & Stats
To get the Ice Warpers Rod, you need to pull all six levers in the Northern Summit. Once you do this, the rod will fall from the sky at rest at the location of the sixth lever . If you're struggling to find these locations, scroll to the very bottom of this guide for GPS coordinates.
| Estadística | Valor |
|---|---|
| Costo | 65,000C$ |
| Velocidad del señuelo | 50% |
| Suerte | 60% |
| Control | 0.15 |
| Resiliencia | 20% |
| Max Weight in Kg | 75,000kg |
Summit Rod - Location, Cost & Stats
Follow the path up the mountain on Northern Summit island. La barra de la cumbre se encuentra en el mismo campamento que la capa ártica en la parte superior del área de la caverna frígida (pase por la caverna y suba el camino hasta el campamento). You can find it on top of a crate next to an orange tent at coordinates (TBC) .
| Estadística | Valor |
|---|---|
| Costo | 300,000C$ |
| Velocidad del señuelo | 15% |
| Suerte | 75% |
| Control | 0.25 |
| Resiliencia | 15% |
| Max Weight in Kg | 200,000kg |
Heaven's Rod - Location, Cost & Stats
Only obtainable when you find all four Energy Crystals in the Northern Summit and place them in the altar at the top of the mountain. You can find the Energy Crystal locations in this guide (scroll down past the Totems section). The GPS coordinates for this location are (19977, 917, 5375) .
| Estadística | Valor |
|---|---|
| Costo | 1,750,000C$ |
| Velocidad del señuelo | 27% |
| Suerte | 225% |
| Control | 0.2 |
| Resiliencia | 30% |
| Max Weight in Kg | Infinito |
Fisch Northern Summit Totems - Avalanche & Blizzard Totem Locations
| Tótem | Ubicación | Costo | Efecto | Uso |
|---|---|---|---|---|
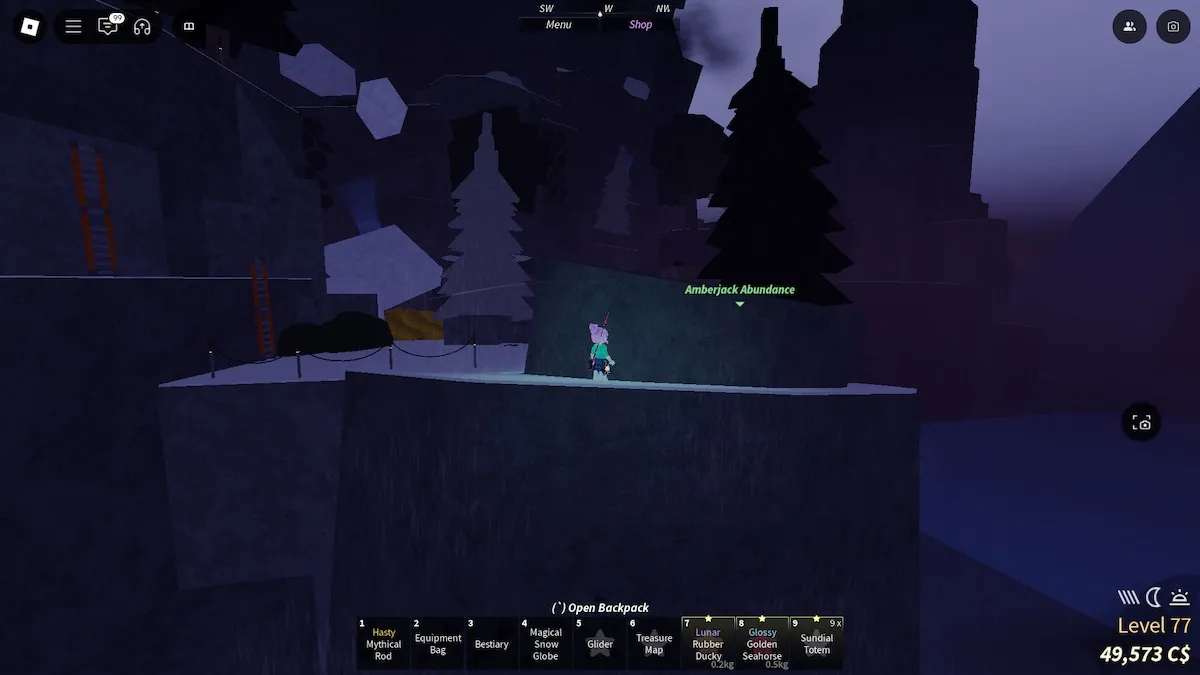
| Avalanche Totem | Behind a large rock formation at coordinates (19710, 467, 6058) on Northern Summit island. Después de volar sobre la brecha gigante en el camino por la montaña, continúe siguiendo el camino y se encontrará con una formación de rocas a la derecha al lado del puente. Go around the back to find the totem. | 150,000c $ | Triggers an Avalanche on the island. | Essential for obtaining the Yellow Energy Crystal to unlock Heaven's Rod. |
| Blizzard Totem | Hidden on a ledge on Northern Summit island, behind the dark orange tent on the left side of the camp where you get the Summit Rod at (TBC) . Requires a Glider to get to. | 275,000C$ | Causes Snow. | TBC |
Where to Get All Crystals in the Northern Summit in Fisch
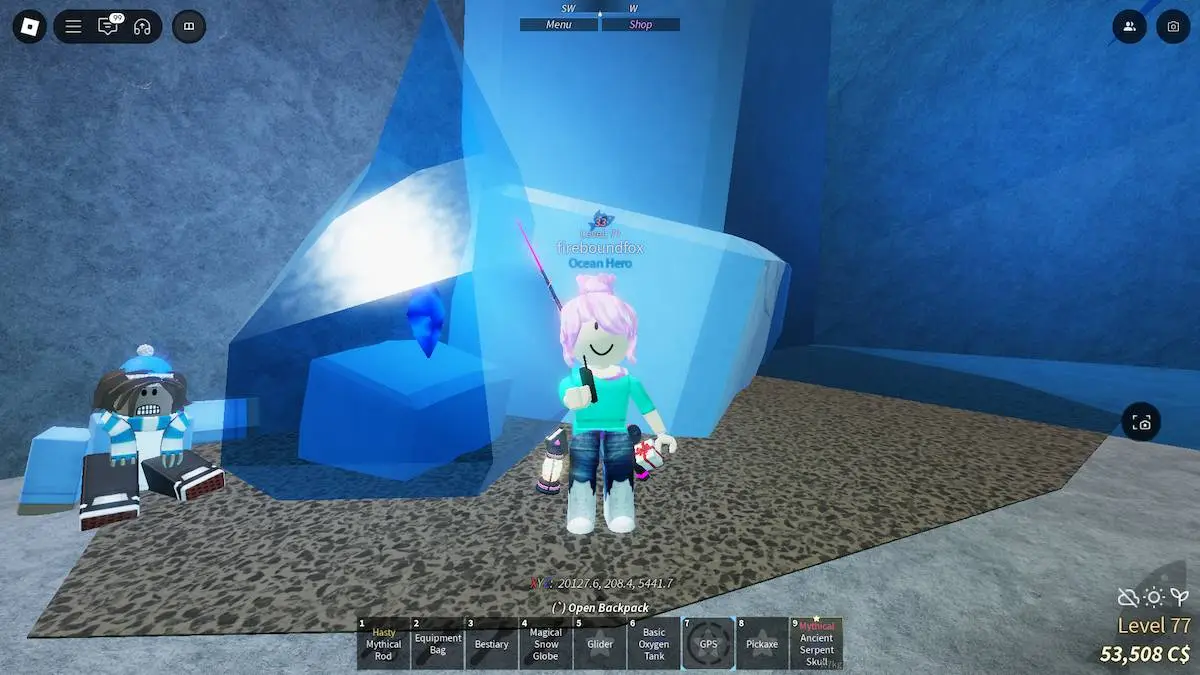
At the very top of the Northern Summit is an altar - at coordinates (19977, 917, 5375) . Here, you'll need to place four Energy Crystals to unlock the Heaven's Rod . Getting all four is a bit of a challenge, though.
| Cristal | Location/How to Get |
|---|---|
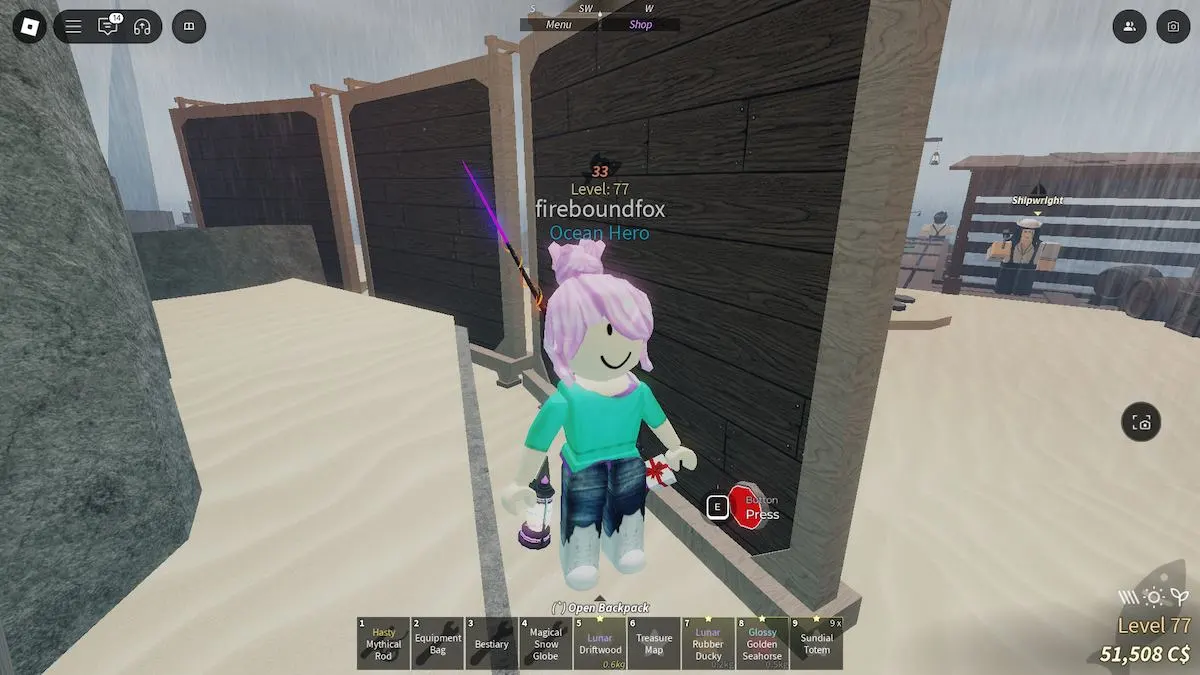
| Blue Energy Crystal | Found in the first cave near the second campsite . Use your pickaxe to free it from the ice. Coordinates (20126, 211, 5449) . |
| Green Energy Crystal | Desde el punto de entrada de las cuevas de crecimiento excesivo (donde puedes ir a la izquierda al campamento con el pickaxe o la derecha para continuar subiendo la montaña), ve directamente por el medio. You'll find an NPC on the left side of the ice cave , standing on a ledge. Hablar con ellos. Coordinates (19873, 448, 5557) . |
| Yellow Energy Crystal | Found during an Avalanche. Go to coordinates (19503, 335, 5535) and use an Avalanche Totem to cause one instead of waiting. |
| Red Energy Crystal | Vaya a estos lugares e interactúe con los botones que encuentre allí: detrás de la tabla de clasificación de C $ superior en Moosewood , al lado de la barra de piedra en la antigua Isla , en la torre de vigilancia de las costas abandonadas , a la derecha del tronco en Roslit Bay (1717, 148, 732) , y detrás del Lampost en la parte superior de la nieve en la Isla Snowcap. Then, talk to the Hiker standing by the altar at the top of the Northern Summit. He'll charge you 250,000C$ for the Red Energy Crystal. |
All Lever Locations in the Northern Summit in Fisch
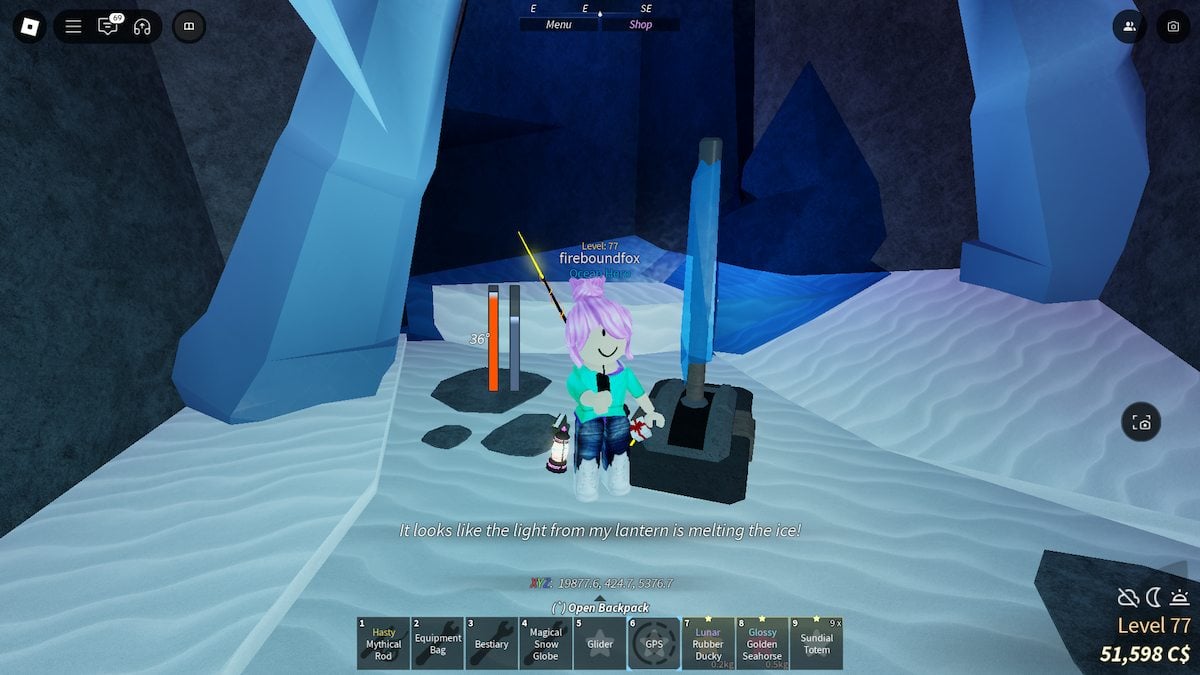
The levers are used to unlock the Ice Warpers Rod in Fisch.
| Cristal | Ubicación |
|---|---|
| Lever 1 | Coordinates (19871.4, 424.7, 5376.7) Northwest part of the Northern Summit. On the left side of the camp at the beginning of the Overgrowth Caves area (where you buy your Pickaxe), there's a lever behind a wall of ice . Use your Pickaxe to break through the ice, and wait by the frozen lever for your lantern to melt the ice encasing it. |
| Lever 2 | Coordinates (19448.5,690.1, 5863.6) Southwest part of the Northern Summit. The lever is near the Crystalized rod puzzle. |
| Lever 3 | Coordinates (19588.9, 543.3, 5619.3) West part of the Northern Summit. The lever is near the bridge that connects both mountains. |
| Lever 4 | Coordinates (19857.8,474.4,4960) North part of the Northern Summit. There's a mountain near the northwest lever's cave - go above the camp there and glide down to find the lever. |
| Lever 5 | Coordinates (20198, 854.4, 5656) East part of the Northern Summit. Climb up the arch near the camp that has the Summit Rod to find the lever. |
| Lever 6 | Coordinates (19950.1,586.9,5560.9) Once you pull the lever here, stay put. The Ice Warpers Rod will fall down to the same location that the lever is found. |
Looking for more Fisch guides at Pro Game Guides? Check out How to get Oxygen Tank in Fisch – Beginner, Intermediate & Advanced and How to get the Winter Cloak in Fisch.
-
 Obtenga primogemas gratuitos, Mora, experiencia y más con estos códigos de impacto Genshin de noviembre de 2024, 5.1 códigos de transmisión en vivo y descubra cómo canjear códigos activos.
 -

Top 5 modificaciones para la metáfora Refantazio
Si está aburrido de tocar la versión de vainilla de Metaphor Refantazio, puede consultar estas cinco modificaciones. -
Cómo ganar los concursos de disfraces en Roblox Haunt 2024
¿Luchando con sus presentaciones para el evento The Haunt de Roblox en 2024? ¡Mira nuestra guía sobre el uso de Dress para impresionar para crear tus capturas! -
Dragon Age the Veilguard Tutorial, consejos y trucos
Nuestro tutorial para Dragon Age: The Veilguard con algunos consejos y trucos útiles, con guías para rompecabezas, jefes, compañeros, equipos, romance y más.

